RiskCompass quick start
This quick start is for the organisation administrator who sets up RiskCompass. After these eight steps your assessment framework is ready, your colleagues are working with you and your first risk is approved in the register. Each step links to the page that tells you everything about it.
A new environment starts with an active default framework: six impact categories, a likelihood scale and a policy per risk level. So you can start straight away and refine the framework later.
-
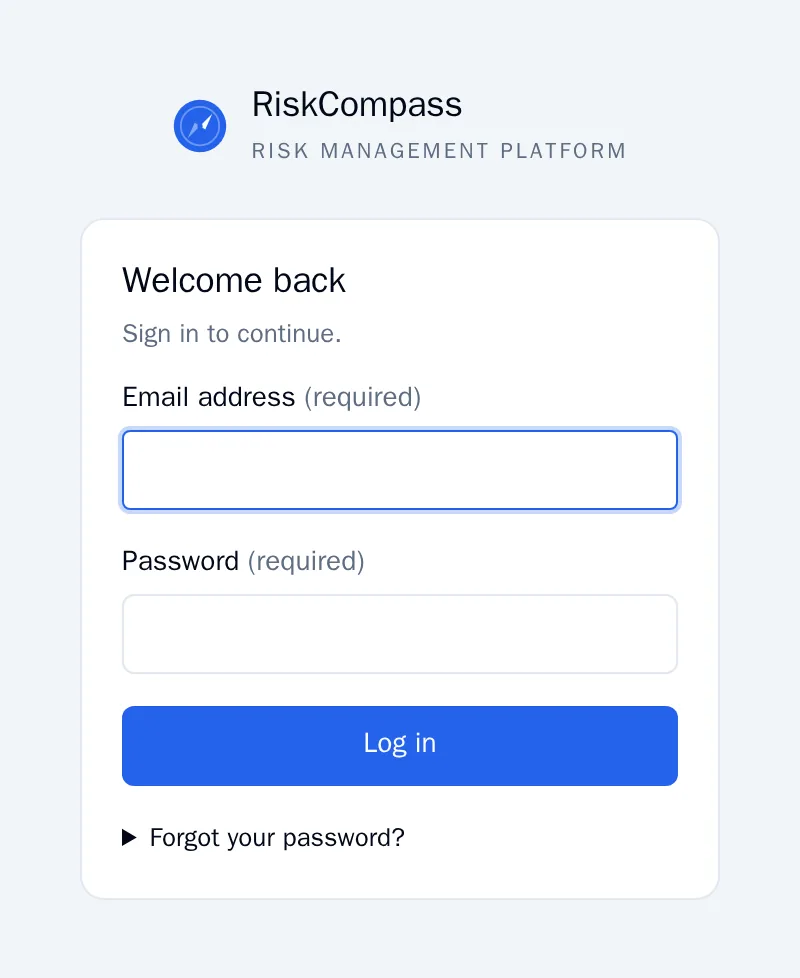
Activate your account and log in. Open the activation link you received, choose a password of at least 12 characters and click Activate account. Then log in with your email address and password. More in Logging in and your account.
-
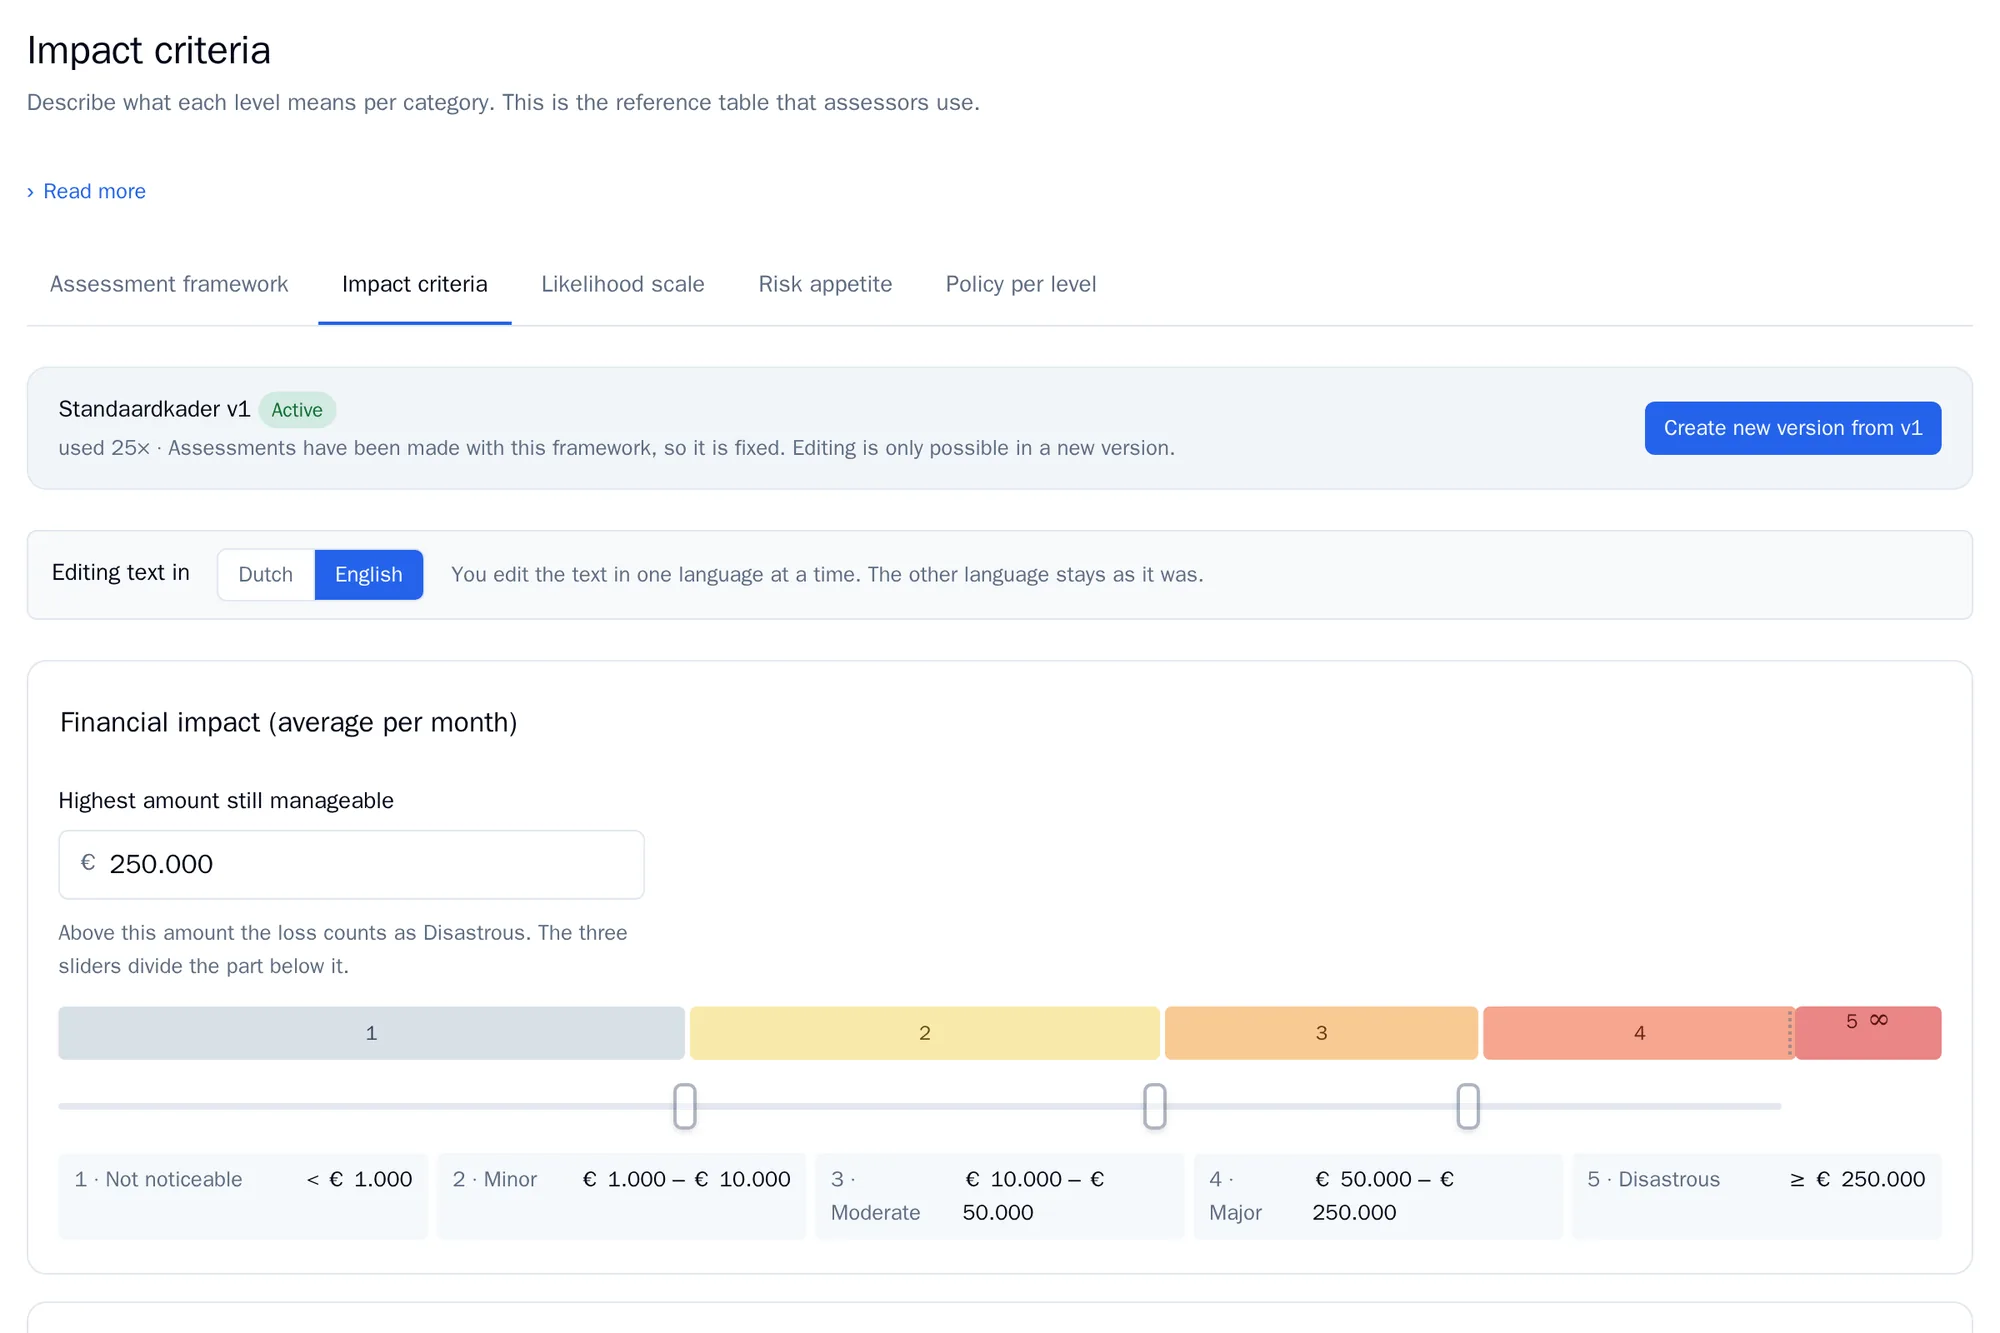
Check the assessment framework. Go to Assessment framework and open Impact criteria. Read what each level means per category and adjust the sentences so they fit your organisation. For financial impact, enter the highest amount your organisation can still absorb. More in Assessment framework.
-
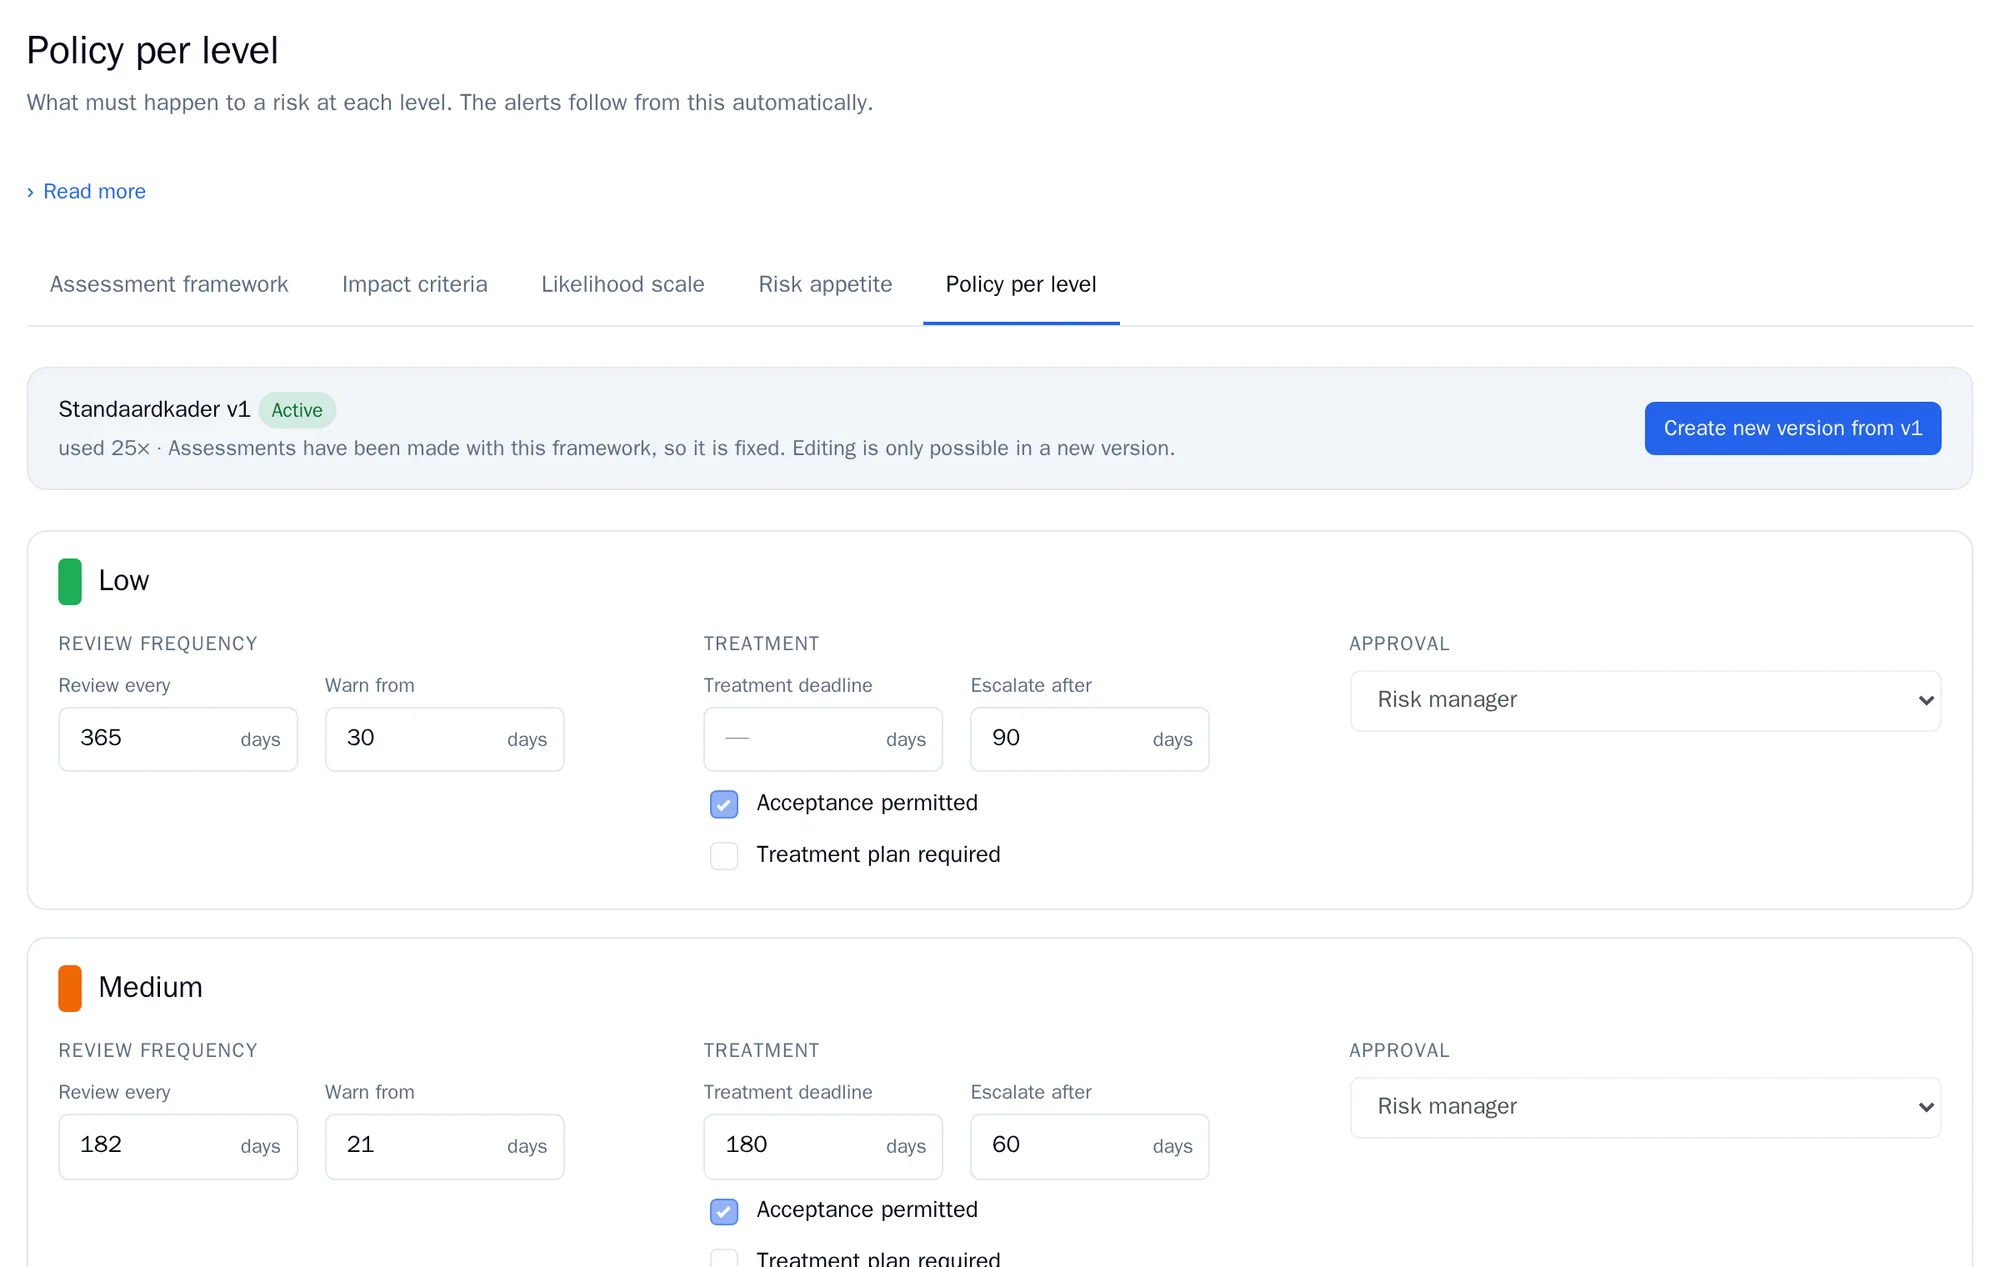
Set the policy per level. Open Policy per level. For each risk level, choose how often a risk must be reassessed, whether acceptance is allowed and whether a treatment plan is required. RiskCompass will then monitor this for you.
-
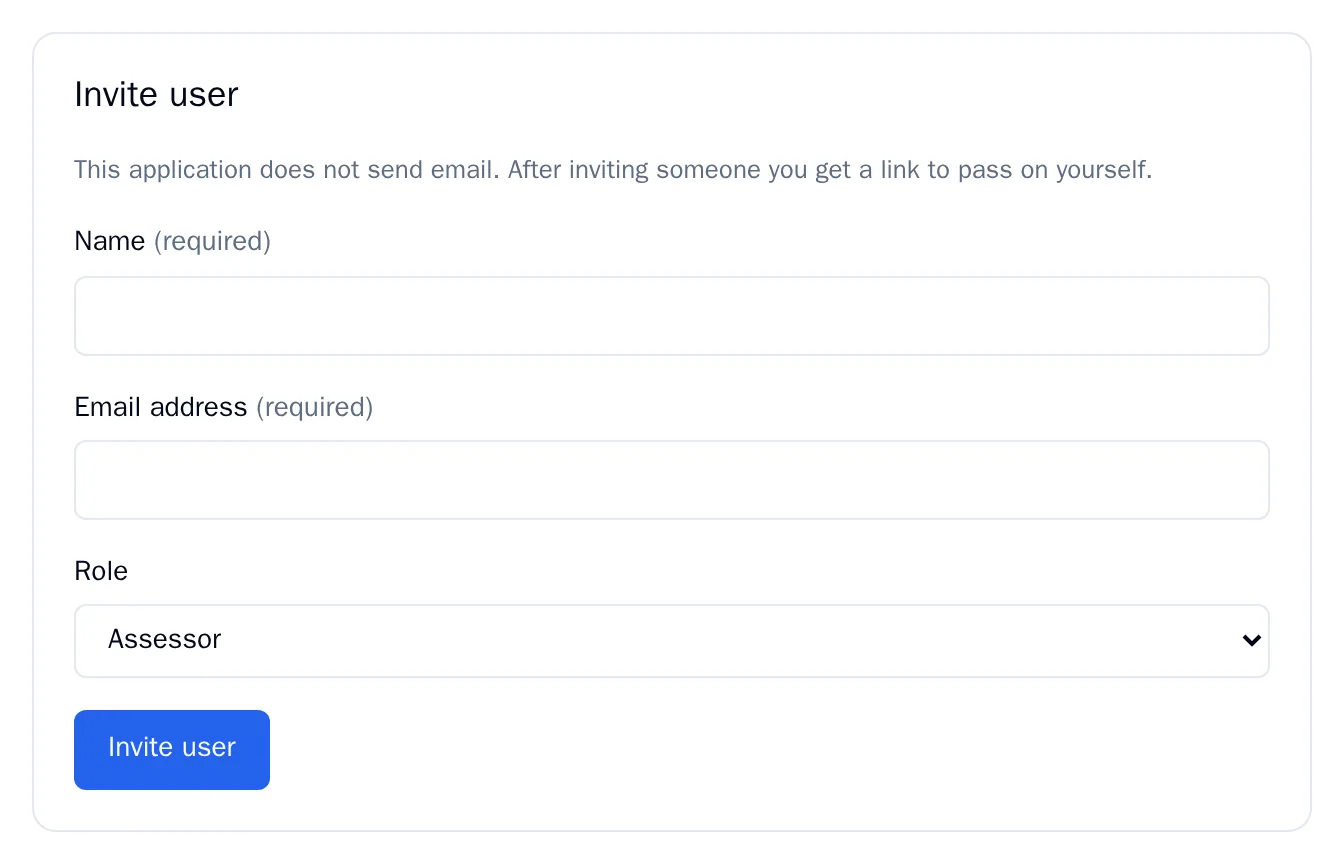
Invite your colleagues. Go to Users, fill in the name, email address and role under Invite user and click Invite user. RiskCompass does not send any email itself: you get an activation link that you pass on yourself. More in Users and audit log.
-
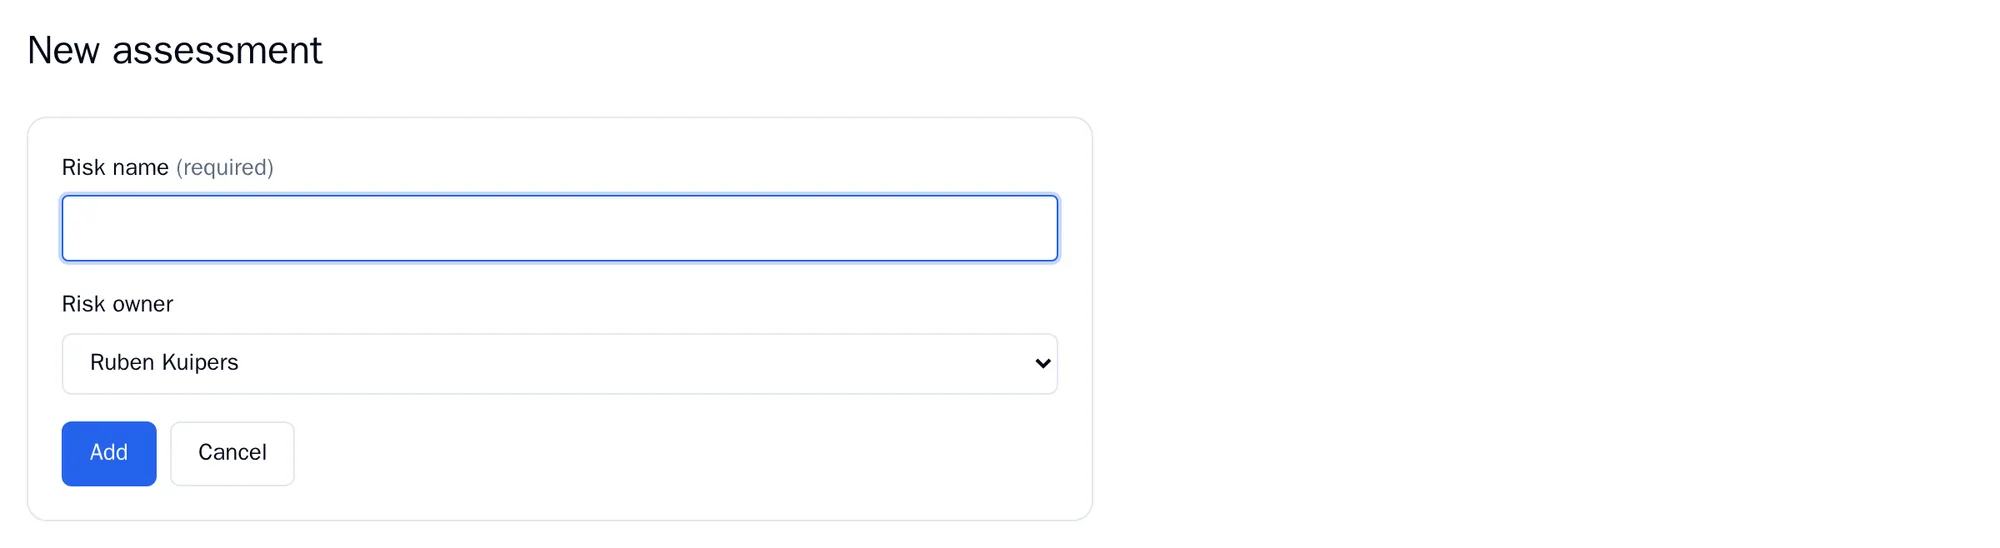
Create your first assessment. Go to Assessments and click New assessment. Give the risk a name that says what can go wrong, choose the risk owner and click Add. More in Assessing a risk.
-
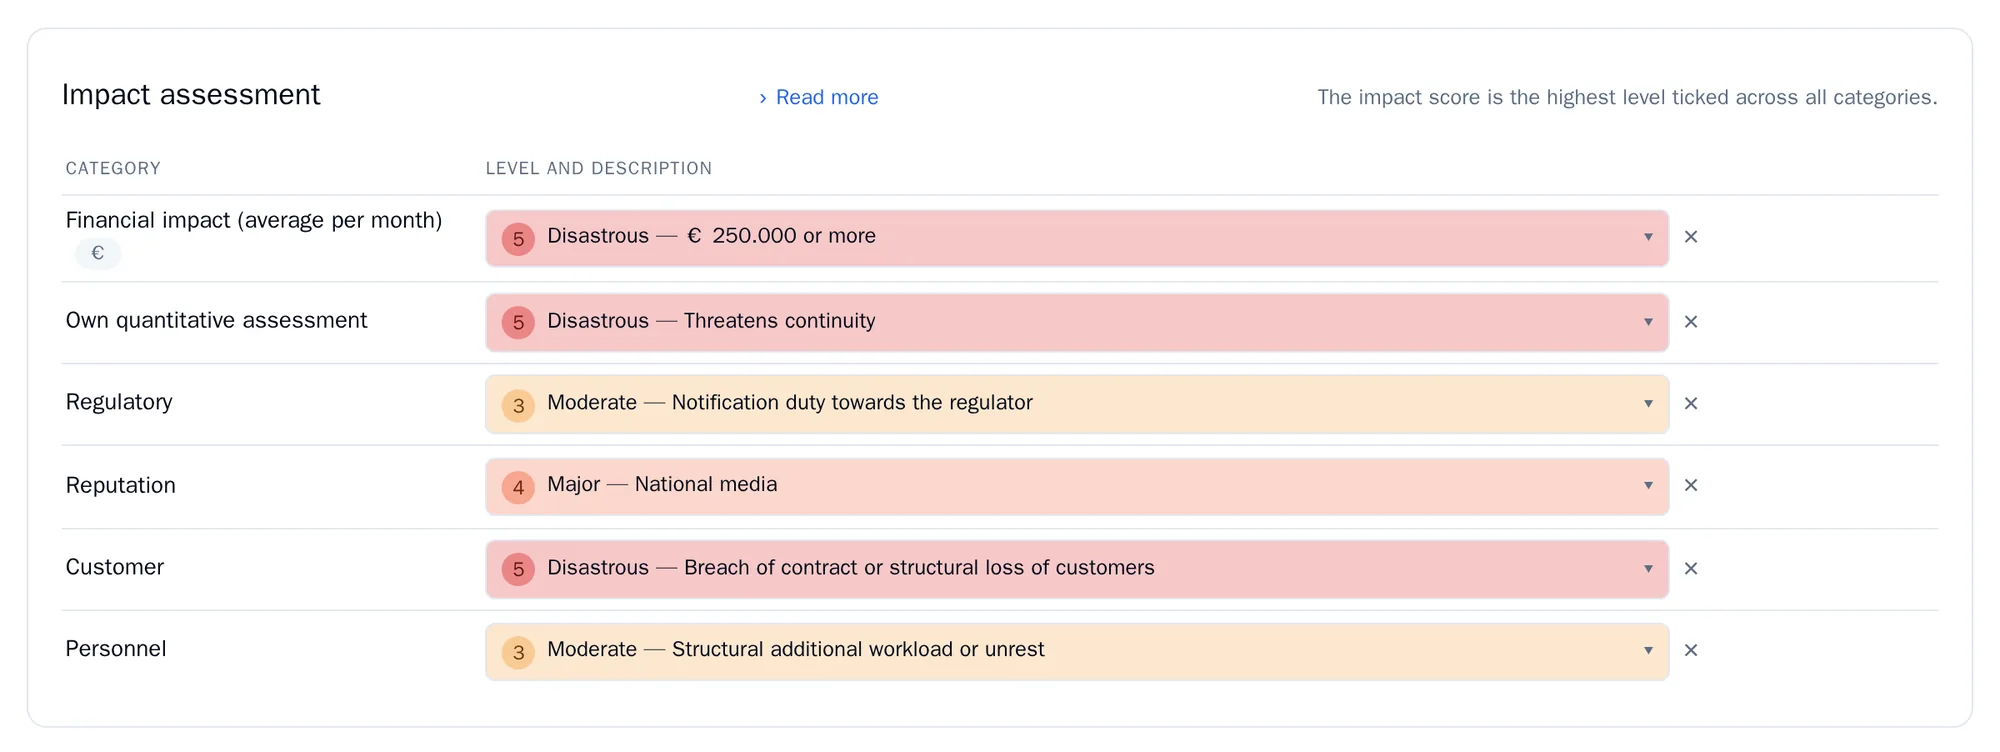
Assess impact and likelihood. On the Impact step, choose the level that fits best for each category. The highest choice is the impact score. On the Likelihood step, choose the highest statement that is true. RiskCompass calculates the risk score: impact times likelihood.
-
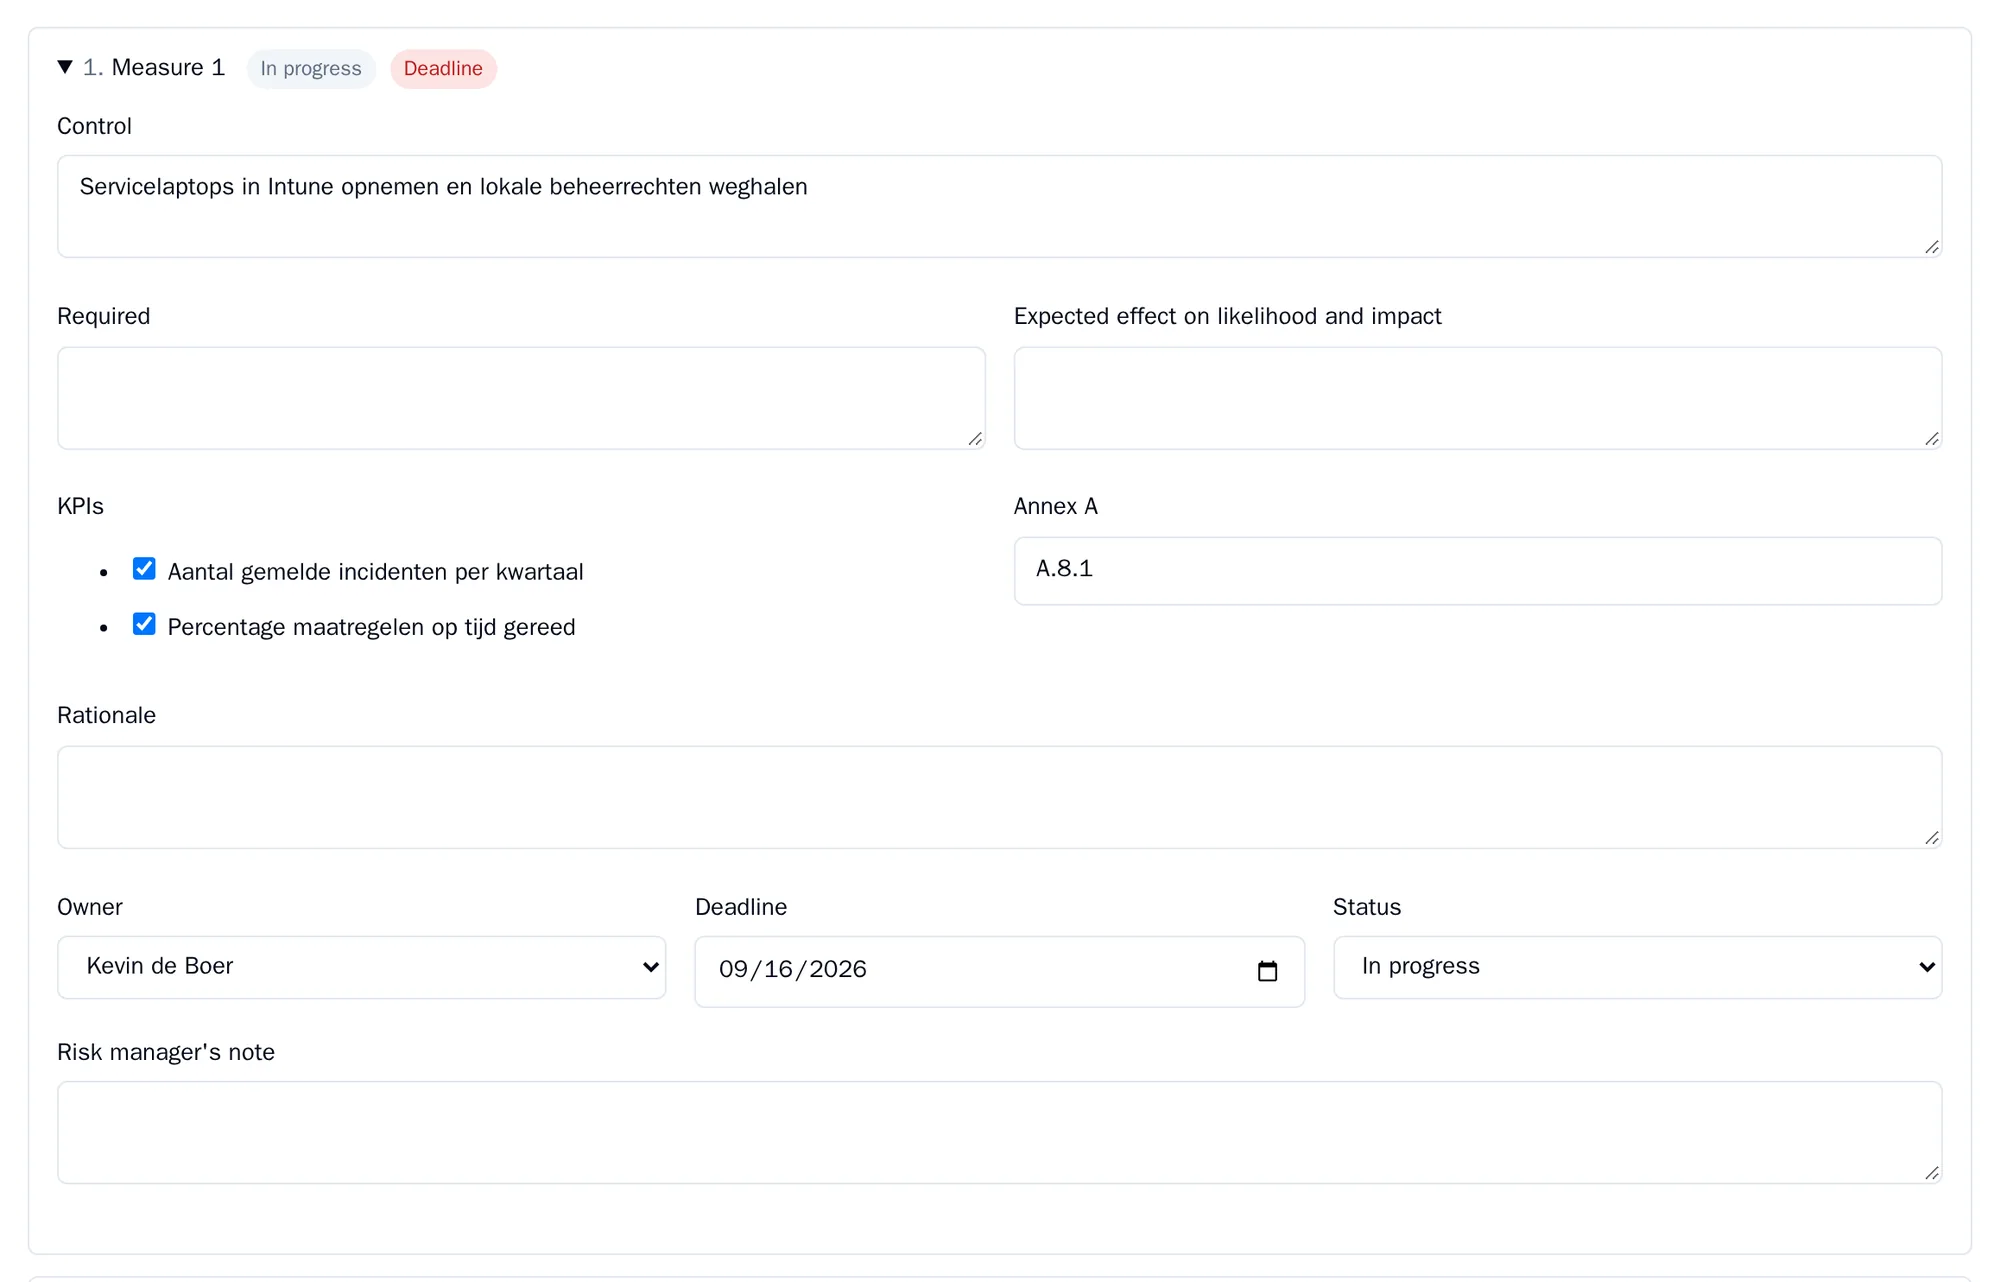
Create a treatment plan. On the Treatment plan step, record what has already been done and which measures will be added, each with an owner, a deadline and a status. More in Treatment plan and measures.
-
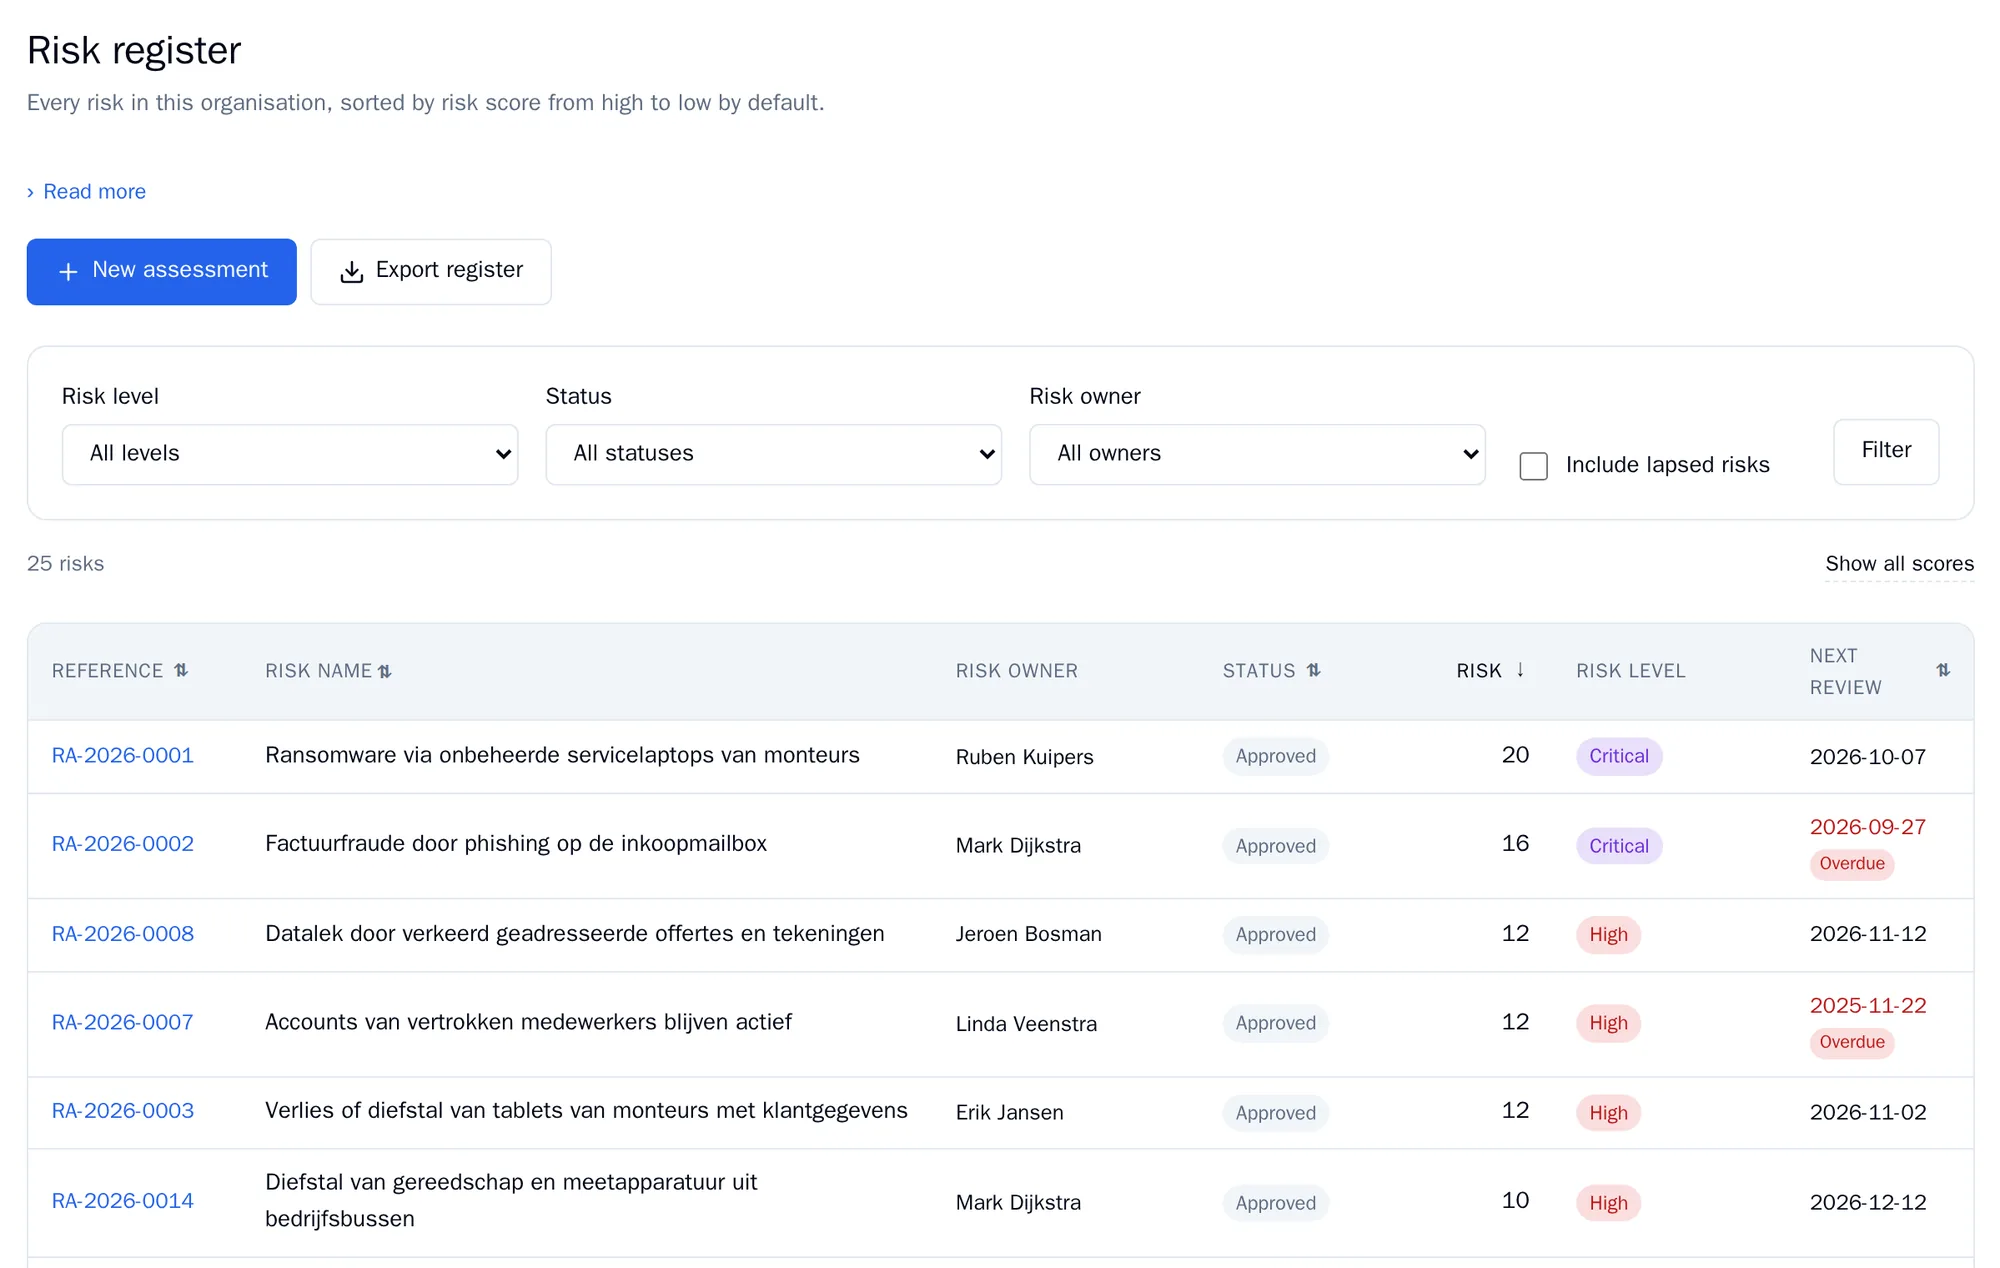
Approve the risk and follow it in the register. A risk manager clicks Approve on the Complete step. From then on the risk is in the Risk register, counts on the dashboard and the period until reassessment starts. More in Approval and reassessment.
Next steps
Section titled “Next steps”- Check Alerts regularly to see which risks deviate from your policy. See Alerts.
- Under Method, switch on more components step by step, such as assets or residual risk. See Method and registers.
- Let RiskCompass compile your risk management policy. See Policy documents.