Employees and departments
Everything to do with people happens under People. Only the administrator sees that menu. At the top are two tabs: Members for the people themselves and Organisation for departments and groups.

Creating departments
Section titled “Creating departments”Create your departments first. When importing, Awareness only links employees to a department that already exists. Later you use departments to aim automatic training and campaigns at part of the organisation, and to see the risk score per department.
- Go to People and open the Organisation tab.
- Click Add department.
- Enter the Name, for example “Montage Elektro”. If the department belongs under another one, choose that one under Parent department (optional).
- Click Create.

Does a department with the same name already exist? Then Awareness refuses the new one. You can only delete a department that still has active employees once you have linked those employees to another department.
Importing employees from a CSV file
Section titled “Importing employees from a CSV file”Creating the file
Section titled “Creating the file”Create a CSV file with a comma as the separator. The first line contains exactly these column names, in lower case:
email,first_name,last_name,role,department_name
jan@bedrijf.nl,Jan,Janssen,employee,Montage Elektro
- email is required. A line without an email address ends up under Conflicts and is not imported.
- first_name and last_name are the first name and last name.
- role is one of
employee,coordinator,manager,isoortenant_admin(administrator). If you leave it empty, it becomesemployee. If it contains any other value, Awareness rejects the whole file. So use exactly these words. - department_name is the name of a department that already exists, spelt the same way. Awareness leaves an unknown department empty.
- Save the file as UTF-8. It can be at most 5 MB.
If you export from Excel, choose “CSV UTF-8 (Comma delimited)”. Otherwise the Dutch version of Excel uses a semicolon.
Importing
Section titled “Importing”- Go to People, tab Members, and click Import.
- Drag your file into the box, or click the box to choose it. Click Analyse.
- Check the preview. At the top you see how many employees are new and how many will be updated. Under New, Update and Conflicts you find the lines by type.
- Click Import … valid rows.
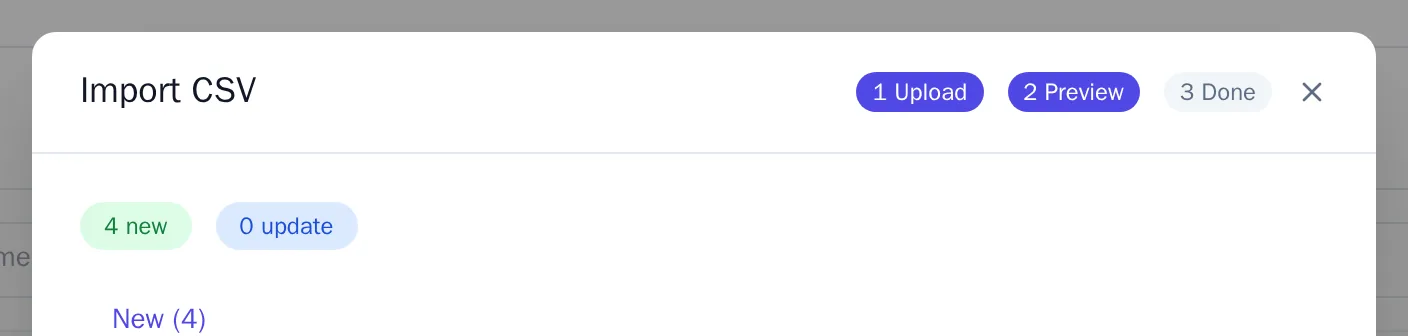
Every new employee receives an invitation by email. If an email address already exists, Awareness only updates what is different in your file. No second account is created. Lines that change nothing do not appear in the preview.
If you switch on Deactivate non-existing users (sync mode), Awareness deactivates everyone who is not in your file. Only use this if your file is the complete staff list.
If Awareness says Analysis failed — check the CSV file, check the column names in the first line, the separator and the values in the role column.
Inviting one person
Section titled “Inviting one person”- Go to People and click Invite.
- Enter the Email address and choose a Role and, if needed, a Department.
- If you want Awareness to repeat the invitation when someone doesn’t respond, tick Automatically resend after and choose the number of days.
- Click Send.

The invitation then appears in the list with the label Invited. Next to it are Resend, Revoke and Copy link. Use Copy link to pass on the link yourself, for example if the email gets stuck in a spam filter.
If your organisation may only invite addresses from certain domains, those domains are listed below the form. Awareness refuses an address with a different domain.
Changing a role or department
Section titled “Changing a role or department”- For one person: click Edit next to the name in the list.
- For several people at once: tick them, choose Change role as the bulk action and click Execute.
You cannot change your own role, and you cannot move the last administrator to a lower role. That way there is always someone who can manage the environment.
Someone who leaves
Section titled “Someone who leaves”- Click Deactivate next to the name. If you want it to happen later, for example on the last working day, choose Schedule for date.
- A deactivated employee can no longer log in. Their results stay in your reports.
- If the data really has to go, choose Delete permanently for a deactivated employee. To confirm, you type in the email address and enter your own password. This cannot be undone.
You cannot deactivate your own account.